I've recently been exploring worm towers as a different way to involve the children in composting organic matter and also learning how to use the compost they make as a vital element in growing vegetables in the garden. If you want to help children develop a respect for living things and see the food cycle in action it's a good idea to find ways of making that learning fun and hands on for them.
Our latest sustainability project was so much fun to create and watch the children work on together. We have made worm farms before using a few recycled polystyrene boxes (it's one of the projects in my Sustainability Resource Pack) but this time I wanted to try making a few worm towers…or tunnels as the kids liked to call them!
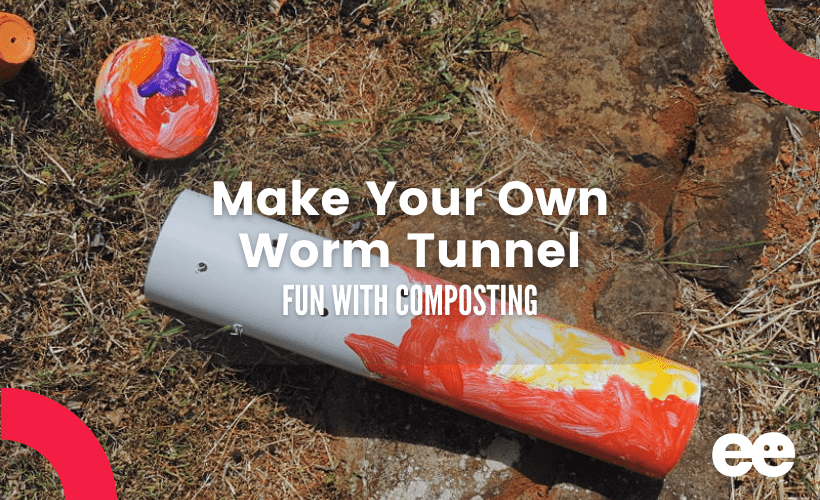
It's an easy project that will cost you very little in materials but offers many learning possibilities and intentional teaching moments while everyone is having fun out in the garden. What to know how to make one? Take a wander through the photos and simple instructions below and you will soon be creating your very own worm ‘tunnels' too!
Why Build A Worm Tower?
- It's a simple way to start a small scale worm farm especially if you don't have a lot of space
- Easily accessible and visual way for children to explore composting
- Adds nutrients and improves the soil
- Increases and aids growth of healthy plants and good vegetable yields
- Offers a way to dispose of organic waste in preference to filling the rubbish bin
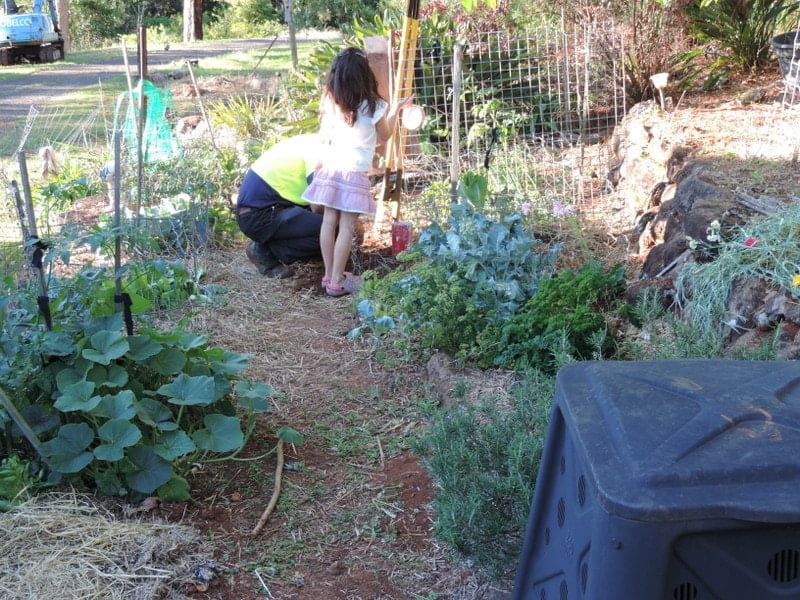
- Encourages children to become involved in the garden and care for living and non living things in their environment
What Do You Need To Build a Worm Tower?
- A length of PVC plumbing pipe (It doesn't really matter the width but we went with around 150mm – you could do larger if you want more space to work with) We used one long piece of pipe and cut it into 2 pieces around 60cm long.
- Drill to make holes in the pipe
- A piece of pipe capping for a lid or you can just use an upturned pot saucer
- Some smallish food scraps from the kitchen (see further below for factsheet on feeding your worms)
- Some shredded or torn strips of wet newspaper, we also added a little sugar cane mulch
- Compost Worms – around 20 will get you started in a small pipe like we used.
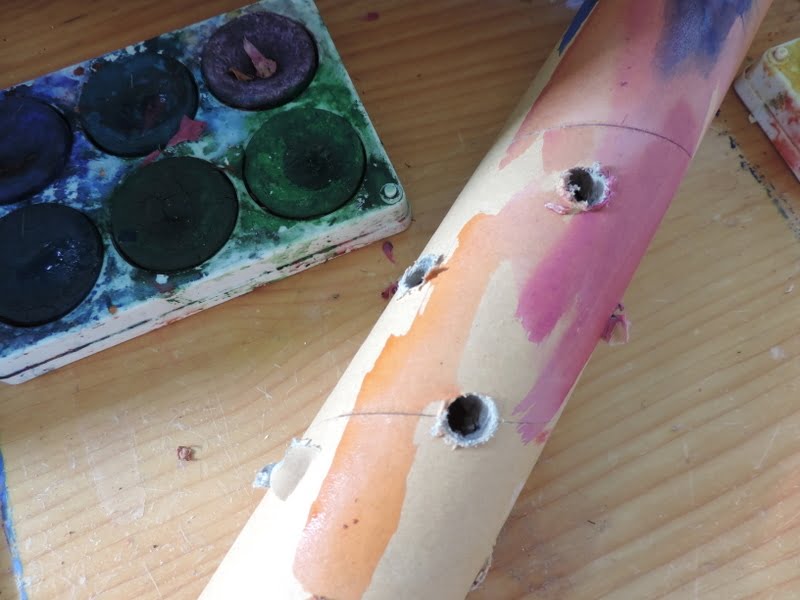
If you don't want to purchase the PVC pipe why not recycle some cardboard rolls like the ones we used below – obviously you won't be able to fit as much into the tunnels and they will eventually breakdown into the soil but it's another great way to do a little composting and you are recycling at the same time!

Let's Do It!
- Cut your pipe to desired length using a saw – you will need to allow for around 30cm in the ground and at least 20cm above ground.
- Wash your pipe – the children will love to help with this job!
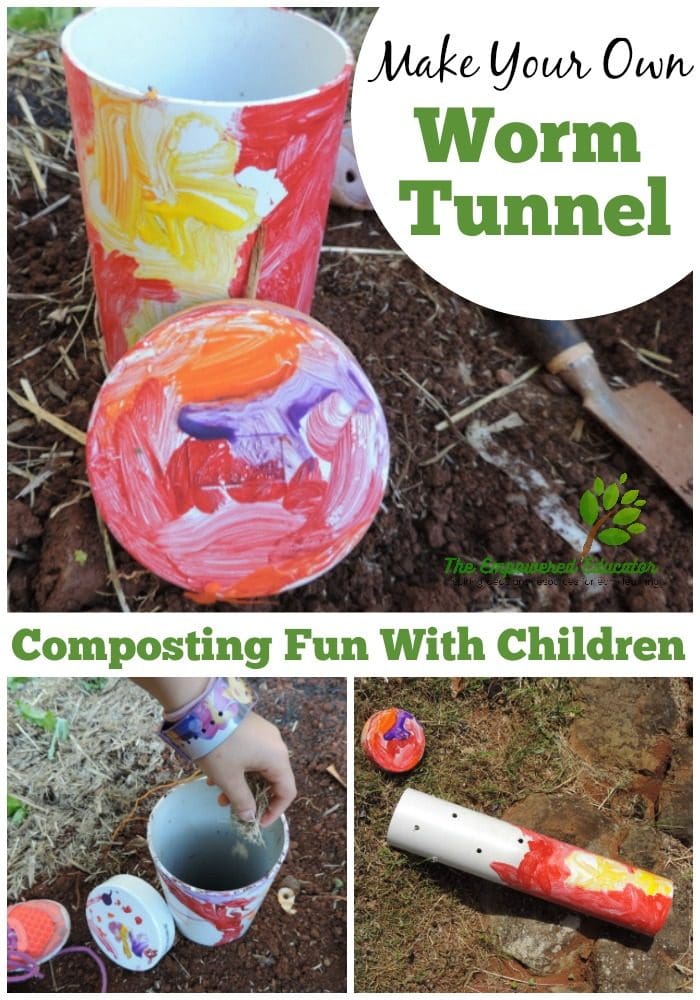
- Drill a series of holes around the bottom half of the pipe ensuring they are at least 5mm in diameter. I am usually a fierce advocate of children being given the opportunity to use real tools but in this case I advise the drilling to be done by an adult only as you need a fair bit of force to drill the holes through the pipe. The holes allow the worms to come and go through the tower and soil surrounding it as well as helping to aerate.
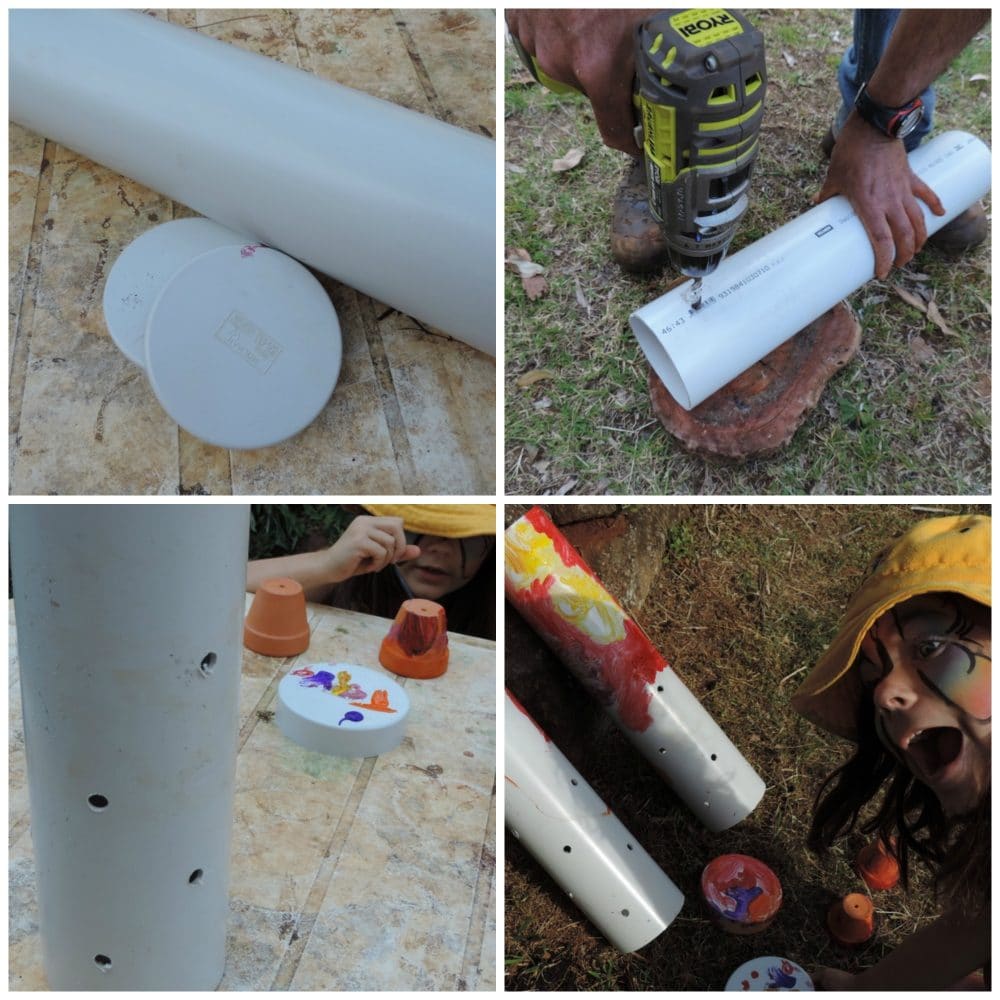
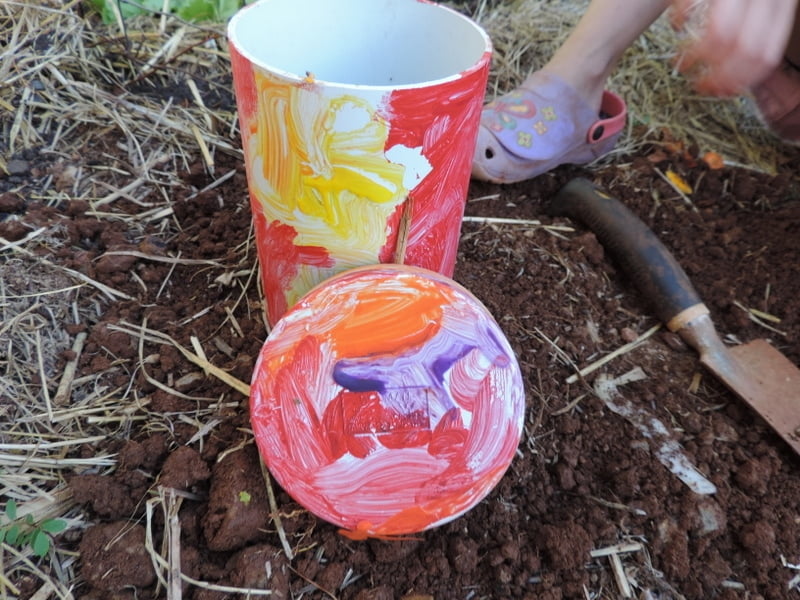
Now turn it over to the children to explore their creativity and personalise the towers before going into the ground. We used acrylic paints which will eventually wash off so if you want a more permanent artistic masterpiece in your garden you will need to use some external paint (sample pots are a budget friendly option here) and I suggest roughing up the surface of the pipe with a little sandpaper to help the paint adhere.
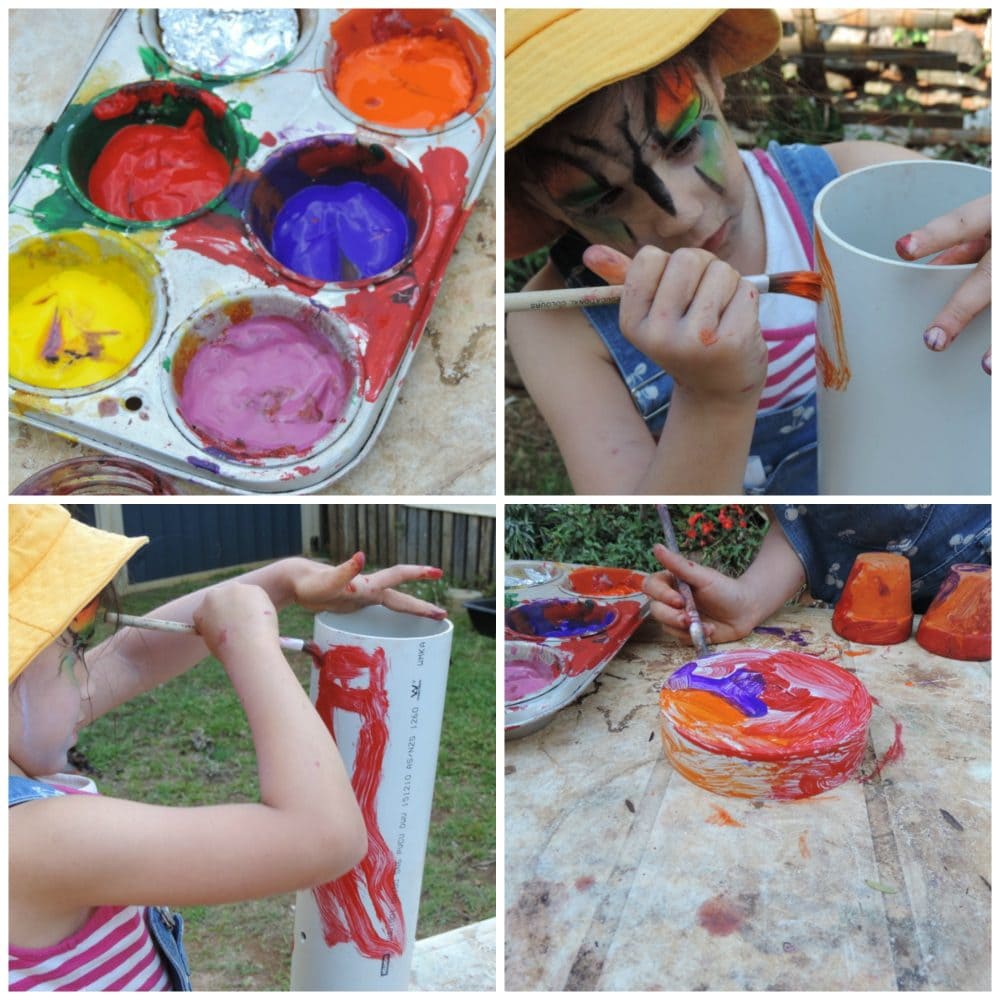
The children spent quite some time on this step and took the design of their individual towers very seriously! Allowing children to design and create helps to connect them to the project and fosters responsibility and a sense of ownership, agency and belonging.
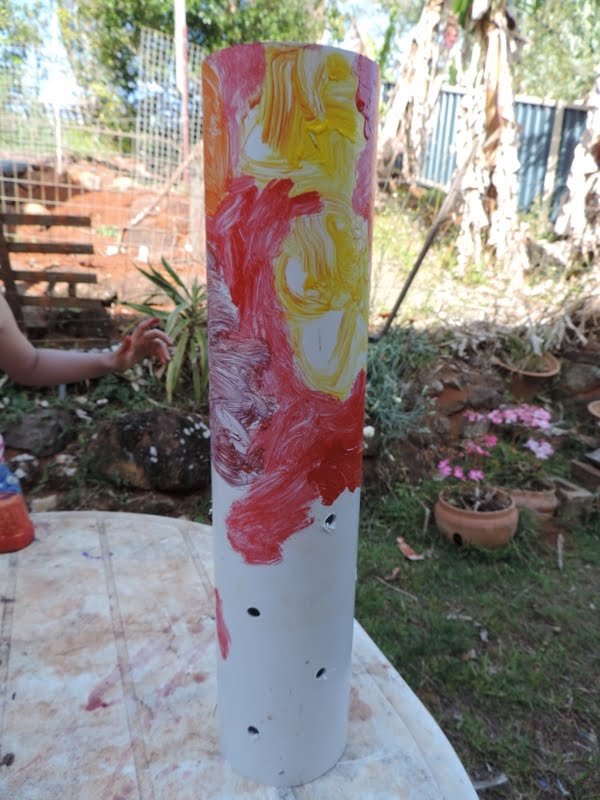
Leave the towers and lids to dry out completely. The children can of course paint the whole pipe – there is no need to restrict them, I was doing this project with my 6 year old twins and they told me we didn't need to paint the holes because they would be in the soil. Toddlers will of course not be concerned with such logic!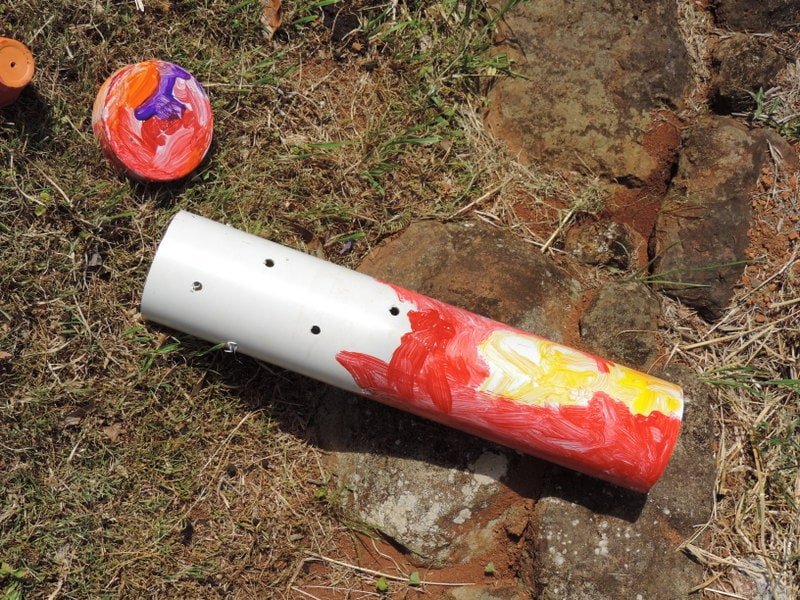
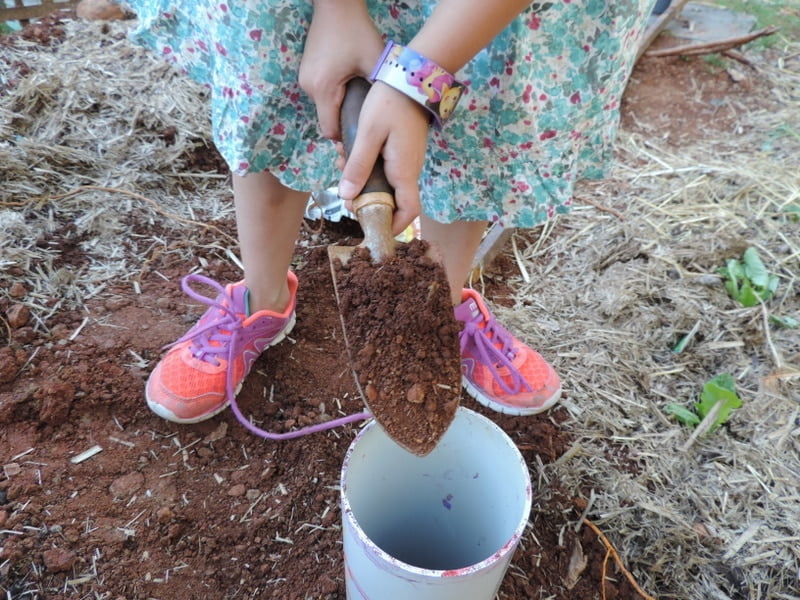
While they are drying everyone can get into the garden and help to start digging the holes for your pipe tunnels. Make the holes wider than your tunnel and deep enough so that it can sit inside with around 20-30 cm raised above soil level. We ensured all of our holes were below the ground but you can have them all around the pipe if you want – it really won't matter!
Get the children involved in backfilling the hole around the pipe with you and then patting the soil to firm it into place.
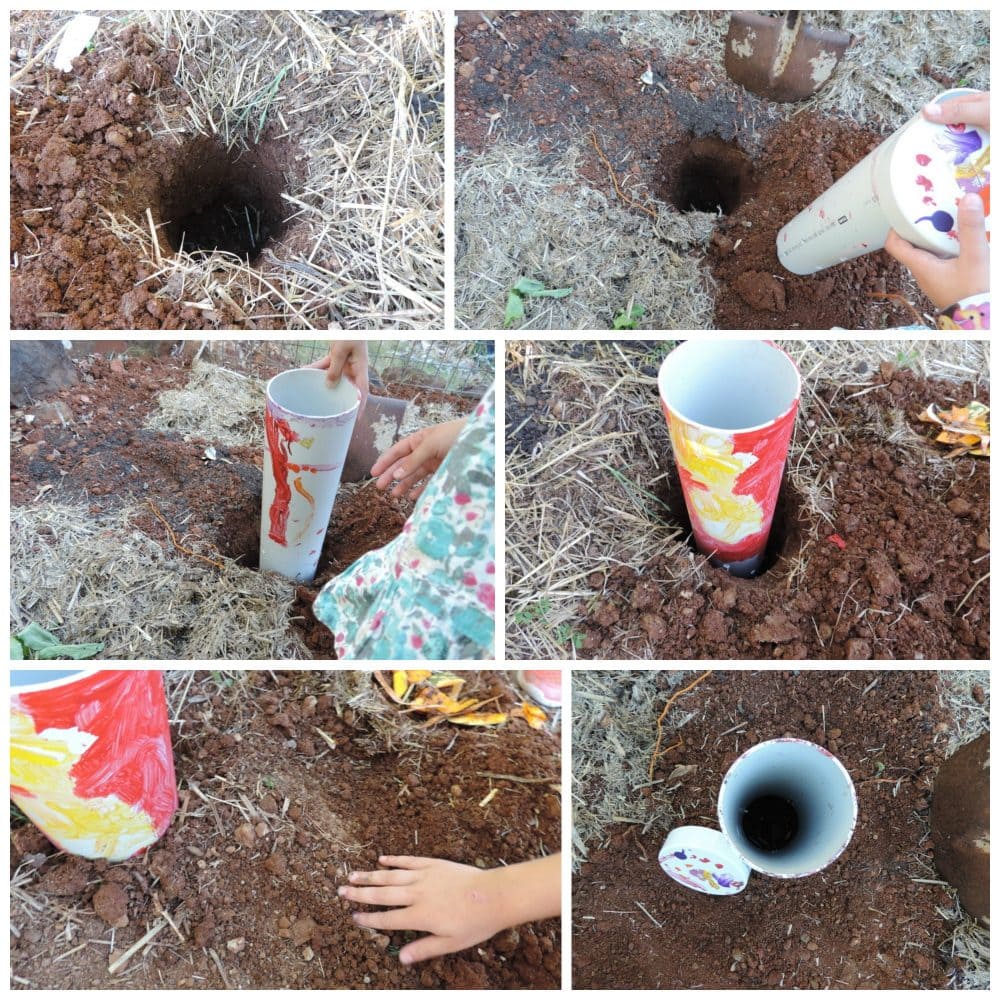
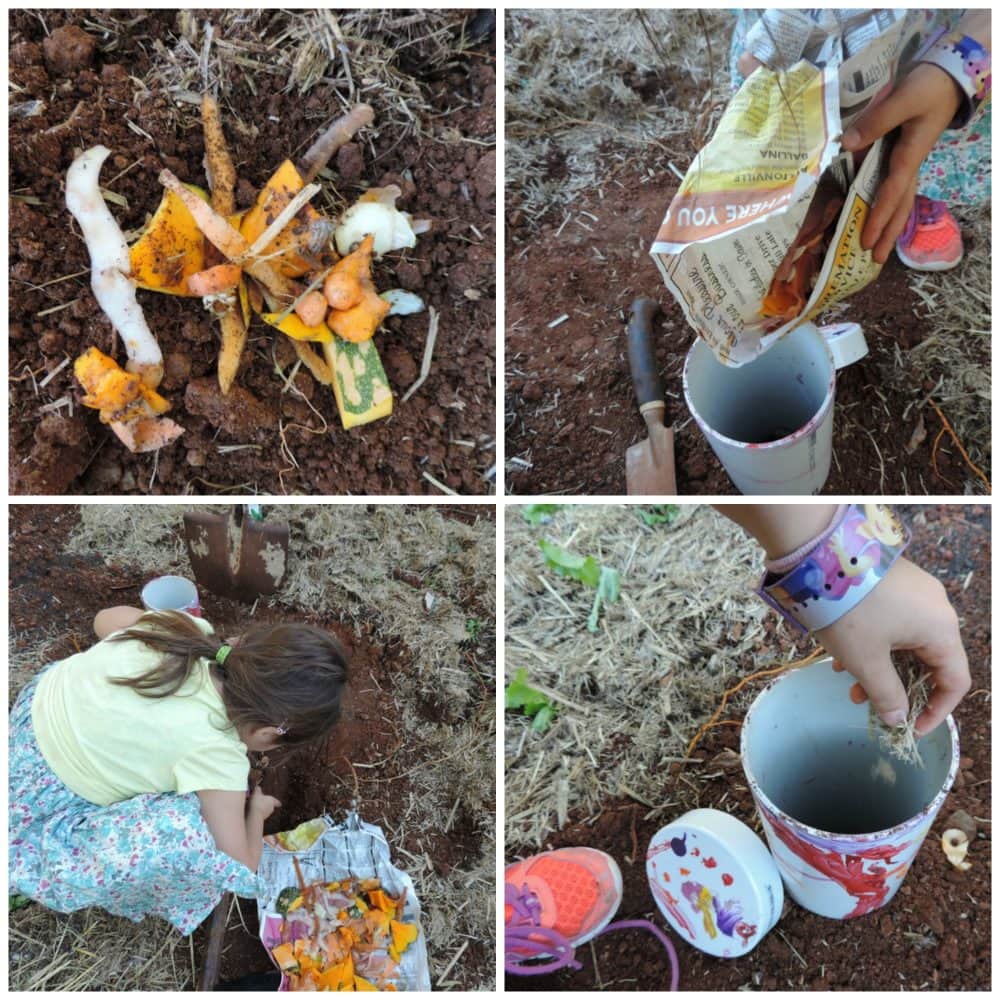
Now you can add a thick layer of mulch (or straw, grass clippings or green matter from the garden), soil and wet newspaper strips to your tunnel to add a base for your worms.
You can now add your worms – you will need composting worms for best results rather than just worms from the garden. You can purchase composting worms cheaply online or from some garden centres. They do like to be kept moist and I keep a few spray bottles filled with water so the children can give them a little spritz each day or so.
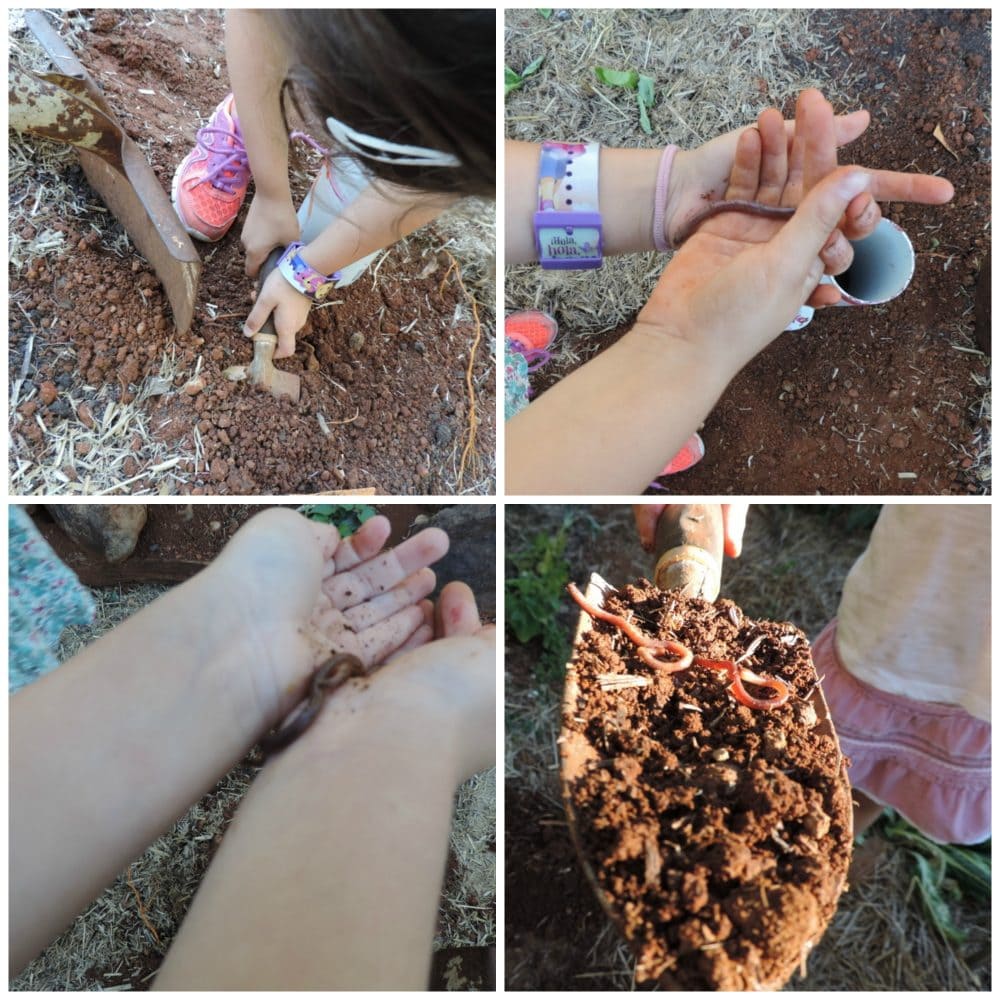
We were still waiting for our composting worms to arrive in the mail but the girls were so excited to get started on this project that they didn't want to wait so we went digging and collected a few little friends to add to the tunnel and get us started!
When you have your worms added to the tunnel you can do do another layer of damp newspaper and straw or grass clippings. Then add a few food scraps collected from the kitchen. We keep a bucket on the kitchen bench for our worm scraps as there are some items you shouldn't feed to your worms.
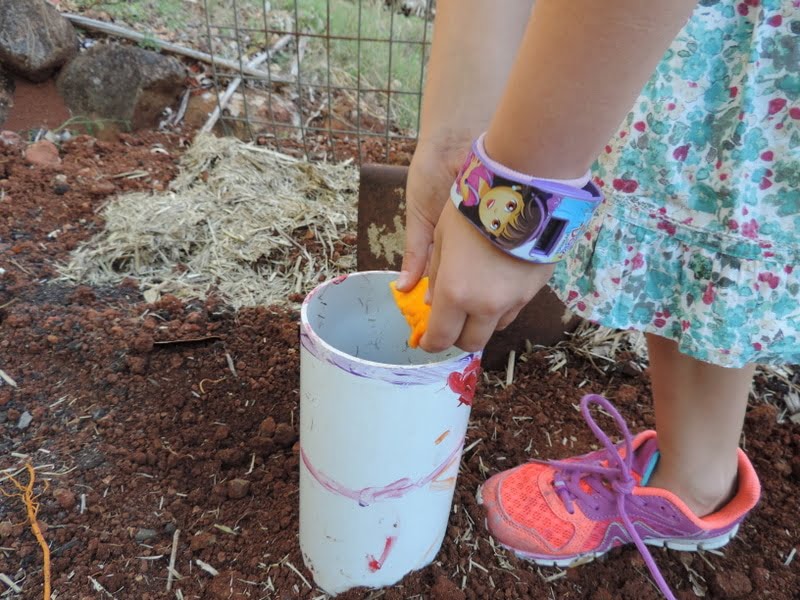
When you have finished layering your tunnel, moisten, then add your lid or upturned pot to keep it dark and the rain and other foragers out.
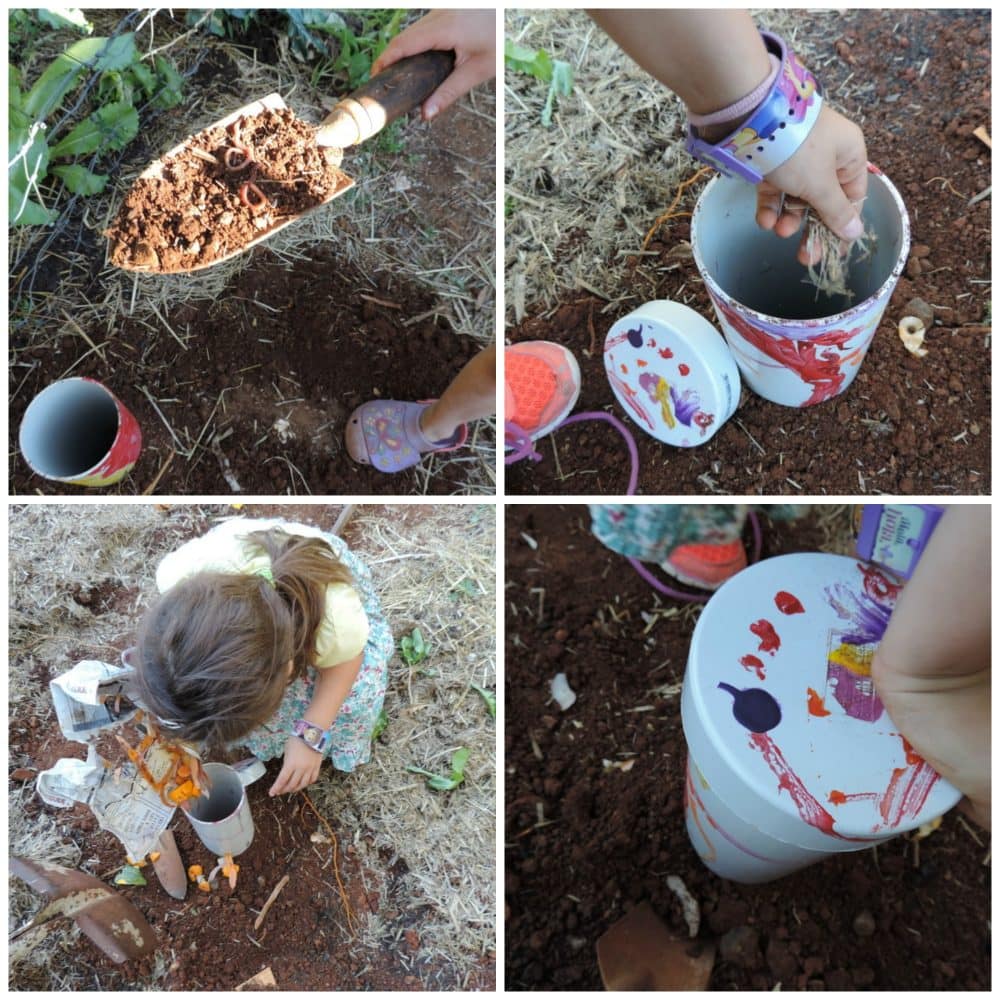
Add organic matter regularly (but keep a good balance between green and kitchen scraps or it might get smelly) and in around 6 months you can remove the pipe and distribute the wonderfully rich worm poo and composted soil around the garden or leave where it is and move your tunnels to other parts of the garden to start all over again!
A very simple and budget friendly project to get everyone out having fun in the garden while also adding a useful system that provides a valuable supply of soil food to your garden and uses up organic waste.
Why not try making your own tunnels with the children soon?

I love this! I’m putting it on our to do list, and we are learning about compost right now too! Thanks for the detailed instructions.
Thanks Ellie – glad you liked it and hope you have fun composting too!
One quick question, did you put a lid on the end of the pipe that goes into the ground as well? So that when you pull it out in 6months time it all doesn’t fall out when you pull it out of the ground? Or did you find it didn’t fall out?
No we didn’t add one to the bottom Hannah as we are happy for the compost matter just to go back into the soil in that area as it is in our vegetable garden and it also makes it easier for the worms to come in but you would be able to easily dig it out and move to another place in the garden once you removed the pipe if you wanted to – would only take a few spadefuls I should think 🙂
Love this experience!
Do you get new worms each time or do you sort them out of the garden soil they have created and take them to a new location?