I've noticed a gradual return to more natural outdoor play spaces for children across the past few years which is wonderful but I know it can seem overwhelming when it comes to designing or revamping the outdoor environment when you can't afford a landscape designer or huge labour costs.
For those that can afford to work with a landscaping team and have the budget for those big ideas I say go for it – they create some wonderful spaces (just do a Google or Pinterest search to see what I mean)! However, for those of us who don't have that sort of budget, time is limited or you work as a Family Day Care Educator so your backyard is also your outdoor play area – I have some ideas and strategies in this new ‘Designing Outdoor Spaces' blog series to help you at least get started and move forward at a pace (and cost) you can handle yourself!
So no more excuses – if I can dig up rocks, drag logs, hit the op/thrift shops for outdoor equipment ideas and landscape the backyard with twin toddlers ‘helping' then so can you! But before you get all excited and start digging random holes and throwing out all the old equipment for all those new ‘fantastic ideas' you have seen on Pinterest and want to try STOP.
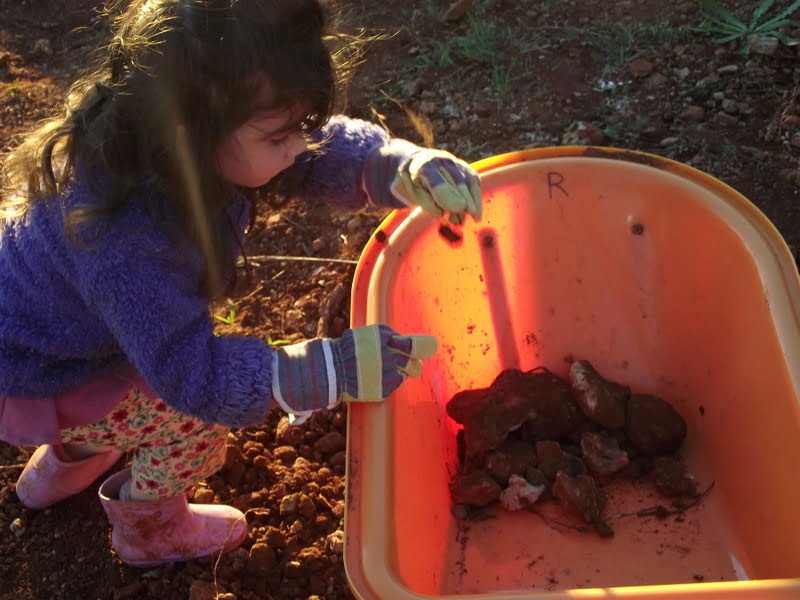
First you need to assess what you already have, what you want, why you want it and how you are going to make it happen. Yep, boring I know, but trust me it will save you time in the long run (and possibly keep your family or colleagues from running away screaming everytime you say – “I was thinking that we could”……) A little disclaimer for you before we begin – I am in no way a qualified landscaper or designer of any kind…just a Mum and early childhood educator who understands how and what children need to embrace outdoor play…and I don't mind getting my hands dirty in the garden or in our case lots of red dirt!
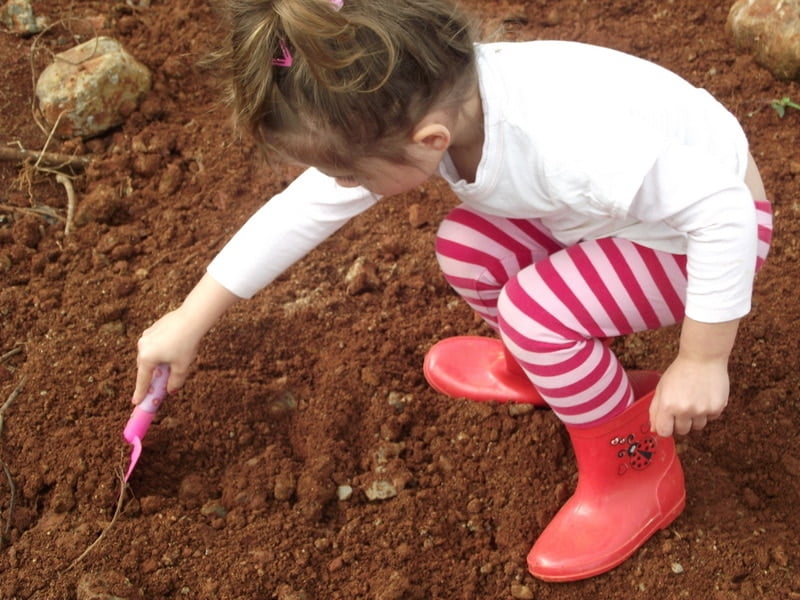
Anyone can revamp their own spaces…you just need a plan of action, a little creativity and some sweat! Doesn't matter whether a small or large yard, Home or Centre based care – I'm going to give you the tools to start taking action with what you already have!
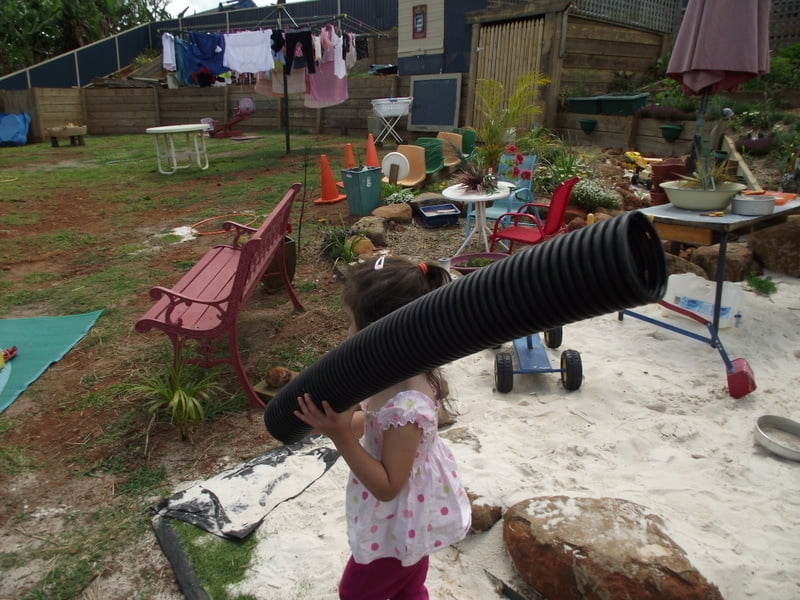
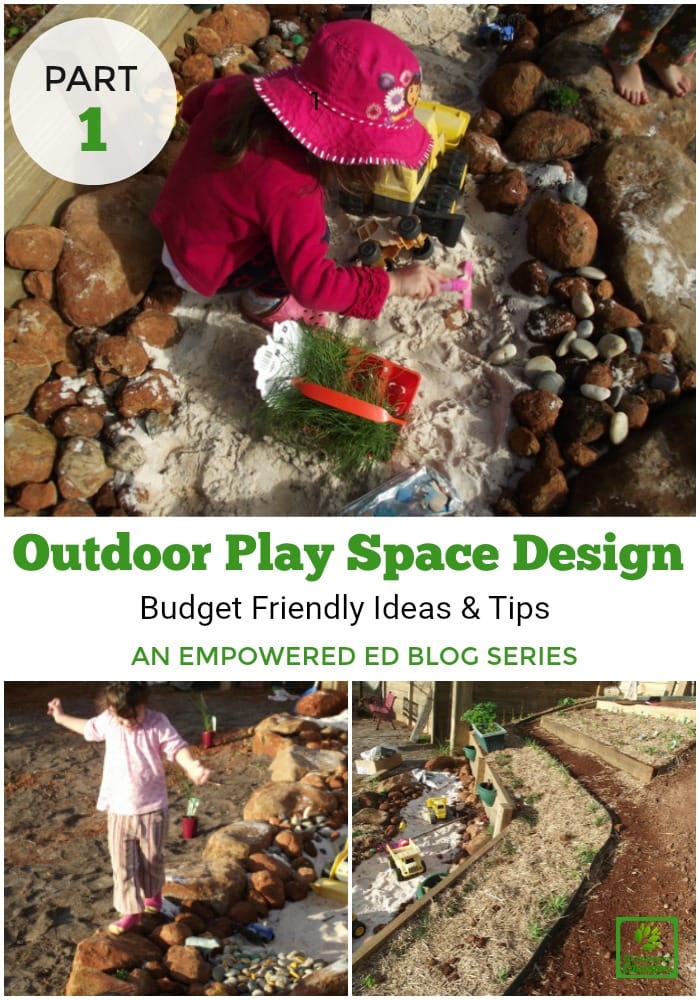
Let's get into Part 1 of the Designing Outdoor Play Spaces series! Start with the steps outlined below and you will be on your way to a new outdoor play space in no time!
Step 1 – Assess current outdoor play spaces.
- Be realistic and think about the actual space you have to develop, your climate and the ages of the children you usually work with. I find drawing a rough map of your current space can really help you visualise as you work through the design process.
- Write it down. On a piece of paper write down the current areas, equipment and features you have in the space. Now work your way back down the list and tick what you feel works well or would like to keep/modify. You could also indicate whether current materials and equipment are fixed or non fixed. I call this an outdoor environment assessment.
- Think about how different early childhood approaches & your own philosophy have influenced how you setup your environments and experiences for children so far.
- Seek out the perspective and voice of the children – involve them in the design process.
- Seek feedback from families & fellow educators – what do they like about current space – what might they want to see changed or improved?
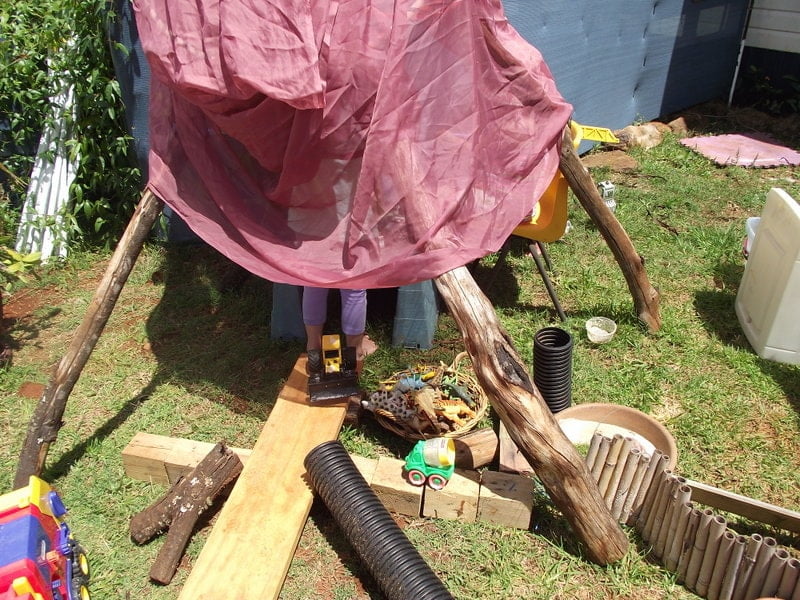
Step 2 – Invite Inclusion – Families, Community, Children, Staff
What do the children think?
The Child's Perspective
It is important and usually very helpful to involve children in this initial process and actively seek out their voice and perspective. I've included a list of questions below that you can draw from to help record their thoughts. Obviously you need to consider the ages of children in your care – older children will be able to voice their thoughts more clearly than toddlers but you can still learn a lot just from observing the spaces the younger children often gravitate to first or spend the longest time in.
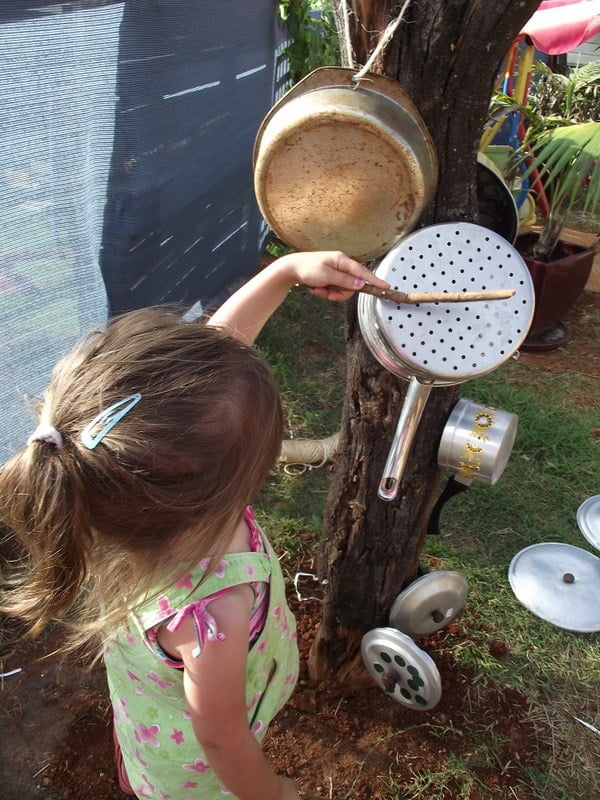
Make sure to get down on the children's level , don't just ask them a list of questions – make it a game, ask a question here and there or perhaps let them draw their favourite areas on a map you provide. Walk around among them as they play outdoors, observe how they are playing, listen to the conversations, note the materials most often used, join in when asked, take photos. Try some of the following prompts …
- Where do you go to climb?
- Where do you go if you want a quiet space to play?
- Where do you like to run, jump, be loud?
- Where do you like to read stories, play games, lie down?
- Where do you go outside when you feel tired?
- Where do you go to find garden creatures or play with animals?
- What areas do you like to play in the most? Why?
- Where do you go if you want to get messy?
- Where do you like to eat outside?
- What do you wish you could see when you come outside to play?
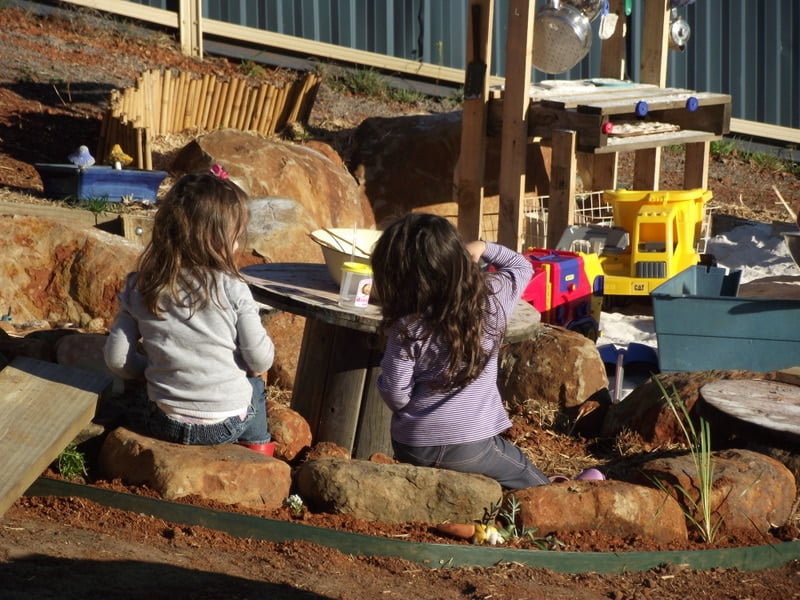
The Educator's Perspective
It is also important to ask yourself a few simple questions to help with your assessment of the current environment before moving forward with any changes. Consider some of the following questions to help with your reflection.
- Is there something missing?
- Are there areas to explore & incorporate nature?
- Are there climbing and risky play challenges?
- Are there spaces for families to connect & share?
- Are there materials and resources children can move around and decide how to play with?
- Are there loose parts & open ended materials?
- What is the ratio of fixed to non fixed equipment?
- Is there space to run, be noisy, engage in group games & play?
- Can children access materials independently? Can children modify and change their own environment?
- Is the environment divided into smaller interest areas?
- Are real tools available to use with guidance?
- Are there spaces that encourage sensory exploration?
- Are there uneven surfaces & different levels to challenge children?
- Are safety/maintenance & daily inspections of outdoor space in place?
- Is the space adaptable to changes in seasons? Shade, boots for rain & mud, vegetables, flowers.
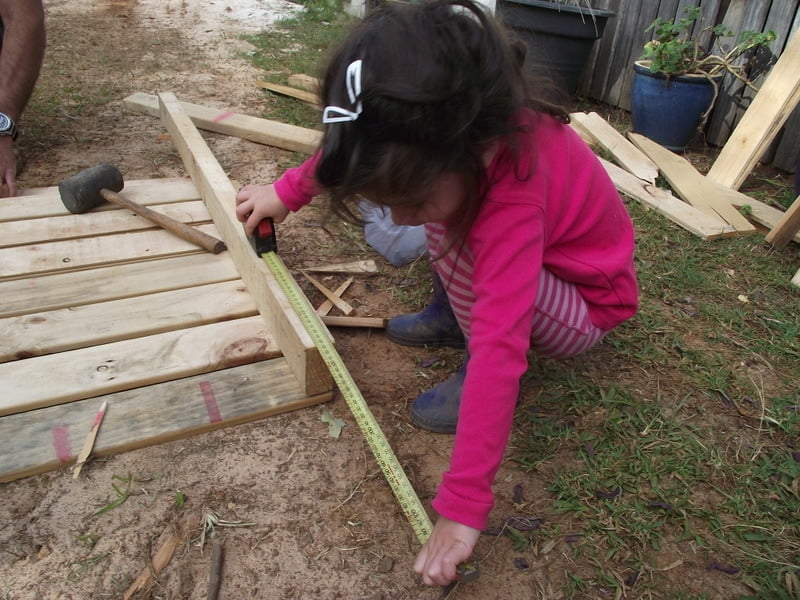
Including Families
- Display photos & stories of outdoor learning.
- Provide quick & easy feedback options.
- Keep updated on progress via newsletters.
- Invite to share own culture & skills outdoors.
- Ask for families to help collect & share natural and recycled materials to use.
Including Community
- Connect with inclusion support agencies for expert advice.
- Explore local council initiatives re water, waste etc
- Talk with & visit community garden groups.
- Research and connect with Kidsafe & Sunsafe (Australia) for tips and ideas.
- Visit recycling centres to explore possible donation opportunities.
- Businesses with a garden & outdoor focus and school/childcare garden programs.
Including Staff
- Provide opportunities and put systems in place to encourage the flow of continuous ideas and observations re outdoor planning.
- Regular discussion about outdoor spaces and planning at team meetings.
- Ensure opportunities available for others to share information gathered from training and other professional development.
- Seek input via well thought out wishlists – I like to display a simple form in a staff room asking what other educators would like to see added to the outdoor area but they also need to add the why!.
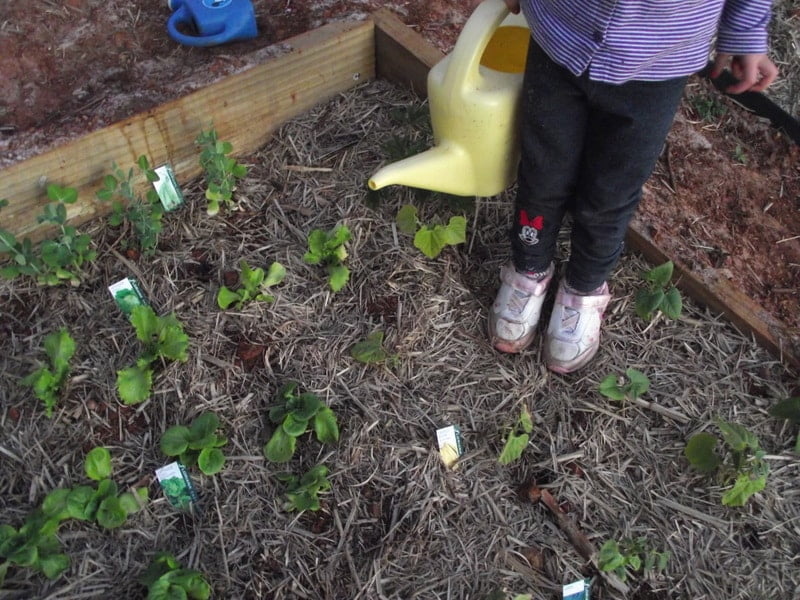
Step 3 – Analyse & Evaluate Information
Now it's time to collect all the information you have been gathering and put it to use!
- Write down and think about what the answers received from the children mean to your planning.
- Identify areas and resources they seem to use the most. Mark these areas on your rough map (or detailed one if you are a great artist – I am not so rough had to work for me!).
- Take note of any current developmental stages, any additional needs, strengths and interests.
- Add information collected into an action plan. What's working well? What's not working so well? What do you feel is missing?
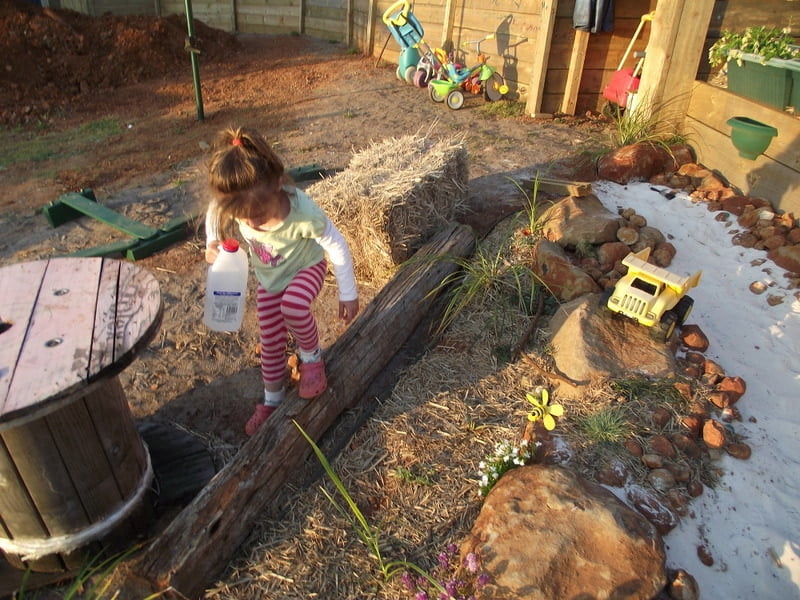
Step 4 – Take Action Together
You have put in the hard work assessing your current environment and materials – now it's time to make it happen!
- Look back at your initial outdoor environment assessment (step 1).
- Consider how you could revamp older environments or equipment sustainably.
- List top 5 changes you want to make first.
- Think about the materials and labour you will possibly need for each change. Make list of where to source or buy.
- Decide on a timeline and break down the steps for each project.
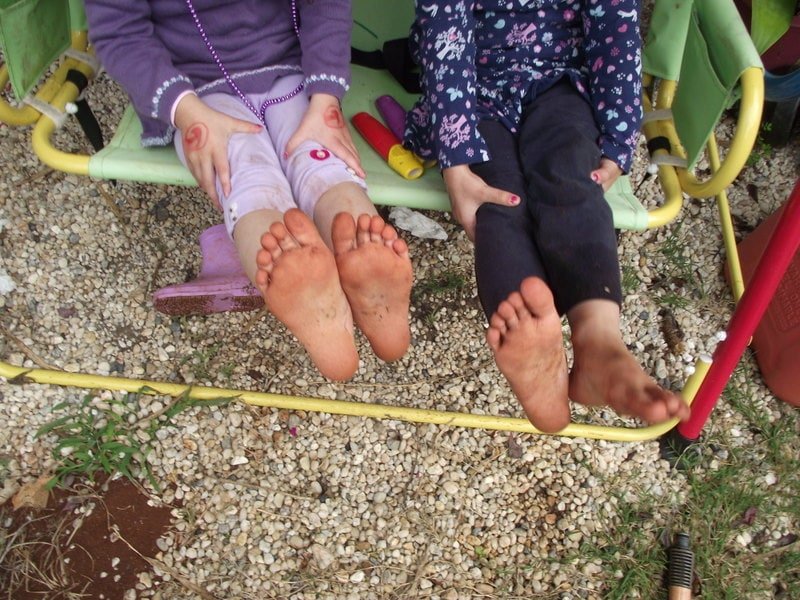
Step 5 – Plan with sustainability in mind
It's all very well to want a more natural and organically challenging outdoor space but that doesn't mean you need to throw out all the plastic and install all new equipment – that's not exactly helping the environment (or your budget) even though you probably mean well…think about transitioning rather than being wasteful, spending money you don't have and needing everything ‘natural' and ‘perfect' straight away.
Consider these tips when it comes to updating older spaces….
- Make it a gradual process. Keep some familiarity for the children in their own environment so the sense of belonging isn't taken away.
- Identify equipment that needs to go immediately and those you could modify/upcycle first.
- Think about the natural elements you could source within your local community to add to your outdoor play space.
- Seek donations and support from community volunteers.
- Not all plastic is evil! No need to throw it all – think about how you could extend the play with the addition of loose parts and other open ended materials first.
- Use your outdoor space assessment, feedback & evaluations to plan ahead first and identify action steps and a timeline.
- Find ways for children to collaborate & participate.
- Begin with smaller spaces & work outwards.
- Incorporate nature as you go & embed sustainability practices and opportunities.
- Visit recycling centres, op/thrift shops, markets, garage sales to find new uses for old materials in your outdoor environment.
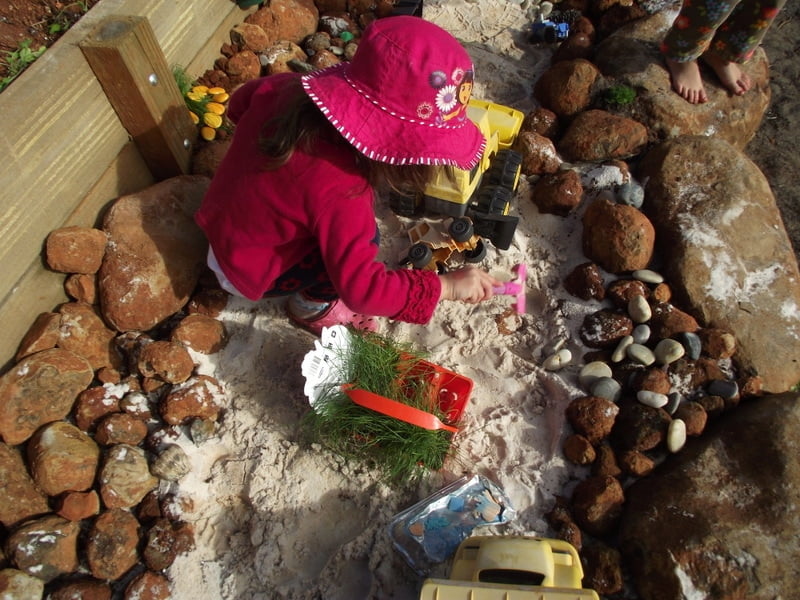
Step 6 – Identify special considerations for baby and toddler outdoor spaces.
It's just as important for babies and toddlers to have access to a well designed outdoor learning environment that encourages a sense of belonging and safety but also challenges emerging skills and developmental stages. There are some special considerations and questions you might like to reflect upon when designing and setting up outdoor spaces for younger children though…
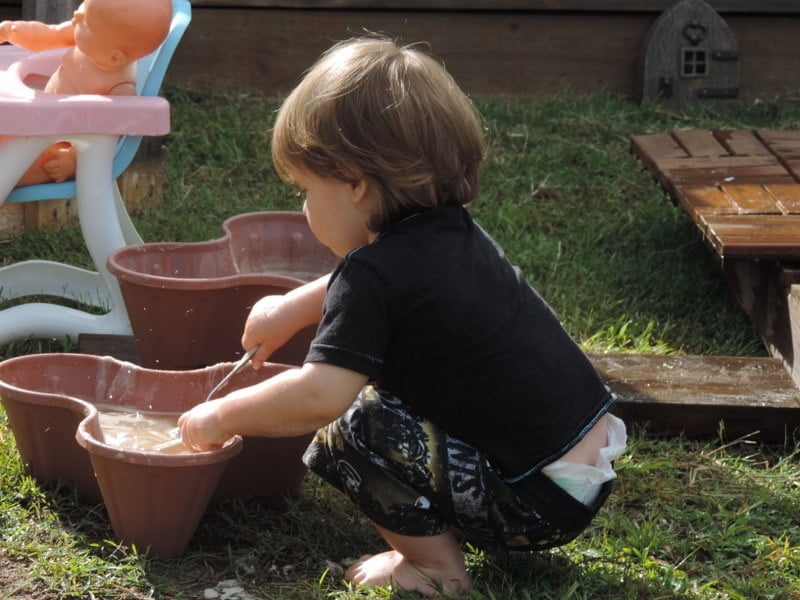
- Do you have crawlers, beginner walkers, active climbers, young babies? Be aware of current developmental stages, personalities, interests and special needs when planning outdoor experiences and provocations.
- The environment will need to allow for constant supervision across all areas.
- Be mindful of possible choking hazards as this age will regularly taste to investigate and learn.
- Even walkers are still mastering balance and coordination so think about how to provide for softer landings!
- You will want easy access spaces for nappy changes & toileting so you don't need to go all the way back inside if possible.
- Provide lots of grassy open areas for crawlers and cruisers (bare feet are best for this stage!) alongside sitting, standing & climbing areas.
- Try and think of ways to incorporate equipment & materials around the space for those at the stage of pulling up to stand.
- Smaller , secure spaces to interact closely with their educators. Ensure comfortable spaces for feeding, sitting, nurturing and changing – include areas to relax, observe and listen. Also think about where parents and carers might also be able to join in to feed or relax outdoors with their child.
- Regular access to safe messy and sensory play opportunities. Use trays, tubs, lightweight tables to remove messy play items for cleaning later and take out spare clothes and a warm water bucket for washing hands after creative activities. This means less trips back indoors!
- The space needs to be set up so that toddlers can safely explore when educator meeting younger babies needs outdoors.
- Shade and soft spaces for young babies is essential. Use umbrellas, shadecloth ,cushions, rugs if you don't have a big budget for shade equipment.
- Materials need to be easily accessible & moveable by both children and educators. Plan for simple creative activities – set up experiences and provocations ahead of time.
- Include small (child safe) sensory gardens to introduce caring for plants from a young age.
- Be prepared with outdoor activity boxes, wellbeing baskets, snack baskets enabling less trips back and forth to indoor area.
- Put in place clear maintenance, setup and pack away routines and processes so everyone is aware of expectations.
- Aim for inclusiveness and clear communication about your outdoor play philosophy. Address any family concerns about water play, messy play, outdoor play in cool or hot weather. Be clear about benefits of outdoor learning as part of your program right from enrolment.
Need to go through these ideas again before you get started? I know this was a lot of information to take in so I've put it all together in one of my Empowered Ed Mini Ebooks that you can download for free to refer back to as you need. Just click below and tell me where to send it.
I hope this helps you to begin thinking about how and why you might take action on the design or revamp of your outdoor play spaces.
You can continue the journey and read through the next posts in this series by clicking on the links below:
Part 3 – Overcoming Challenges
Part 4 – Incorporating Sustainability


Great ideas I love each step and stage in this process. It takes the thinking and stress out of project. I find this inspiring, helpful and the benefits rewarding. This is something I can share with or team and centre.