As an educator and parent I have always loved the benefits of sensory slime play for children. In the past I have regularly used Lux soap slime, cornflour goop and cellmix slime. Sometimes though it is nice to introduce a slime that isn't as messy or sticky and is in fact mouldable and stretchy. I find this type of slime especially useful for introducing sensory play to children who have tactile challenges and don't like getting their hands very messy.
I always encourage educators and carers to try making their own resources for play rather than spending a lot of money on expensive prepackaged materials and supplies – this also provides opportunities for children to be involved in the creative process right from the start.
When making your own resources however, I encourage you to always be aware of the ingredients you are using and keep in mind the safety of the children who will be using it – often with their hands or tasting via inquisitive mouths! You do not want to be using toxic materials.
I have seen many slime recipes that include borax and although I think this is fine to use with older school age children, it's not something I would be using around younger children – especially when there are excellent alternatives like the simple slime recipe I am about to share with you right now!
How to make your own Safe Sensory Slime

What you need
This is the best part of this recipe . You only need to buy one ingredient – the other is water!
- 1 Tablespoon of natural fibre supplement – I used the Metamucil brand you see below. I simply purchased it from the supermarket.
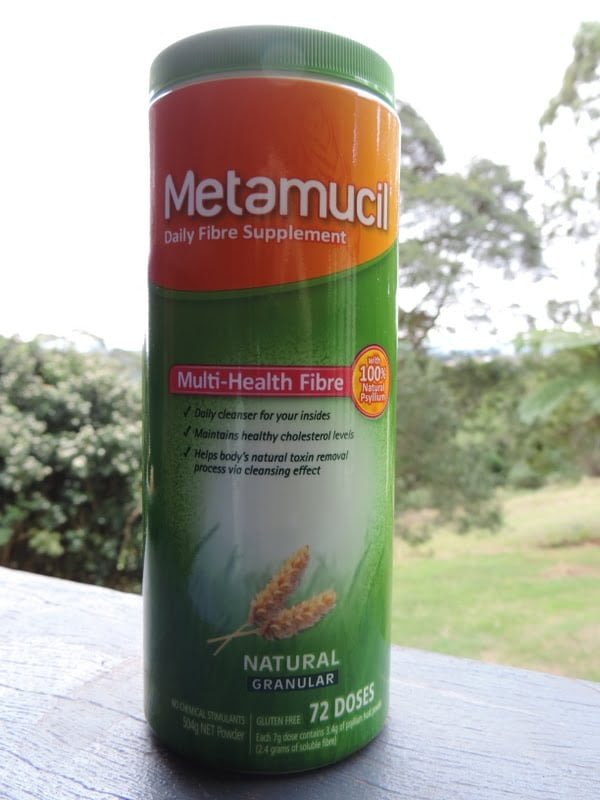
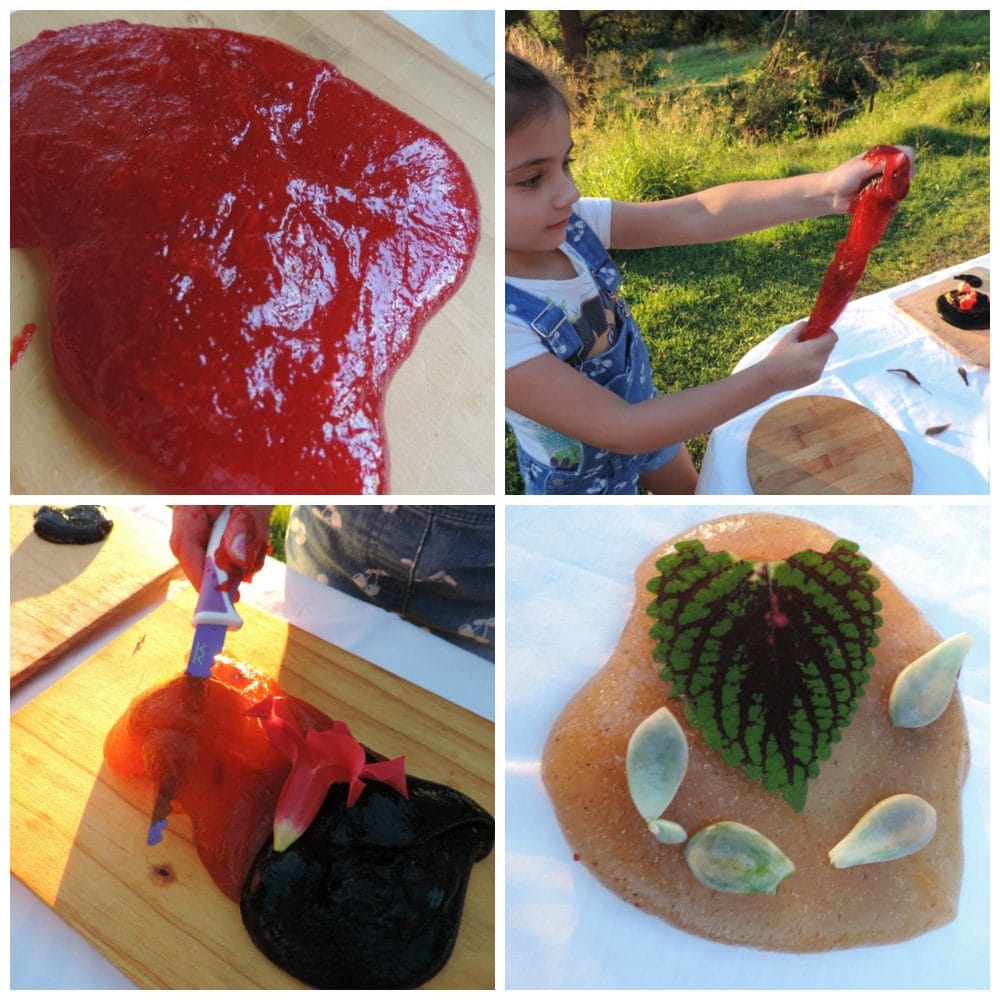
- NOTE: Make sure whatever supplement you use contains psyllium husks . I purchased the ‘natural' version as I wanted to be able to add my own colours – you can buy the orange Metamucil though if you are happy for your slime to be orange or you don't have any colouring to use. In the photos below you can see the slime I left a natural colour on the bottom right of collage – it became the perfect canvas for adding flowers and leaves to.
- 1 Cup Water
- Food colouring or edicol colour dyes {Optional} I used edicol dye because I use them to colour my cornflour paint base as well and they wash out of clothes so easily!
- 1 large microwave safe bowl – believe me larger is better, don't be misled by the ingredients.
- Wooden Spoon & Whisk for mixing
The ingredients above make the amount of slime you see in the red slime picture below . I made a few extra batches after the first trial run. I'd caution against trying to double the recipe as even this small amount easily bubbles over the bowl when making it in the microwave – worth taking a little extra time to make batches separately.
What you do.
- Add your tbsp of Metamucil to your bowl
- Add a few drops of colour or 1/4 teaspoon of edicol dye if you want colour slime
- Pour in your water and whisk well
- Microwave for roughly 5 minutes – all microwaves will vary so you will need to stay and watch – do NOT walk away. Open after 3 minutes and give it all a good stir. It will begin to thicken quickly and this is a fascinating science activity to show the children if they can see safely into your microwave.
- You will see the mixture begin to froth and bubble – if it looks as though it will overflow just open the door for a minute, give quick stir and then keep going.
- You will know when it is ready as it begins to pull away from the side of your bowl and forms a lump rather than covering the bottom of the bowl. Carefully pour onto a tray or board to cool down. Mine seemed to firm up a little as well after resting . It will be very hot so please be careful transferring from bowl.
- By watching carefully as it cooks and taking your bowl out to check you can actually make 2 different slimes – 1 a little more sticky and sort of runny and the other a firmer rubbery gel which is perfect for stretching (and better for those children who dislike messy, sticky hands) I ended up making 2 batches of each version.
For a stickier slime – add a little more water and a little less microwave time
For a firmer, blubbery type slime – Microwave for suggested time and add a little more powder to the recipe if you need to after you try your first batch.
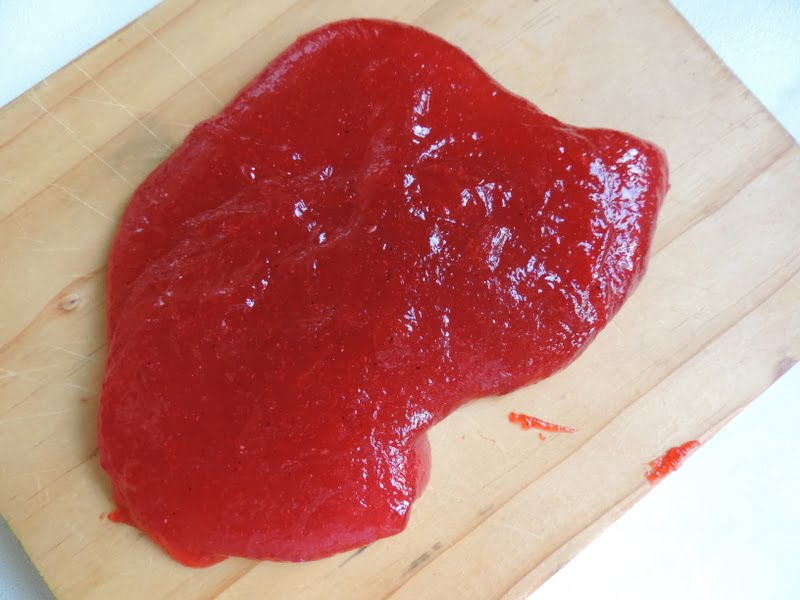
When your slime blobs have cooled down (we actually played with ours while still a little warm to add to the sensory experience) encourage the children to begin investigating!
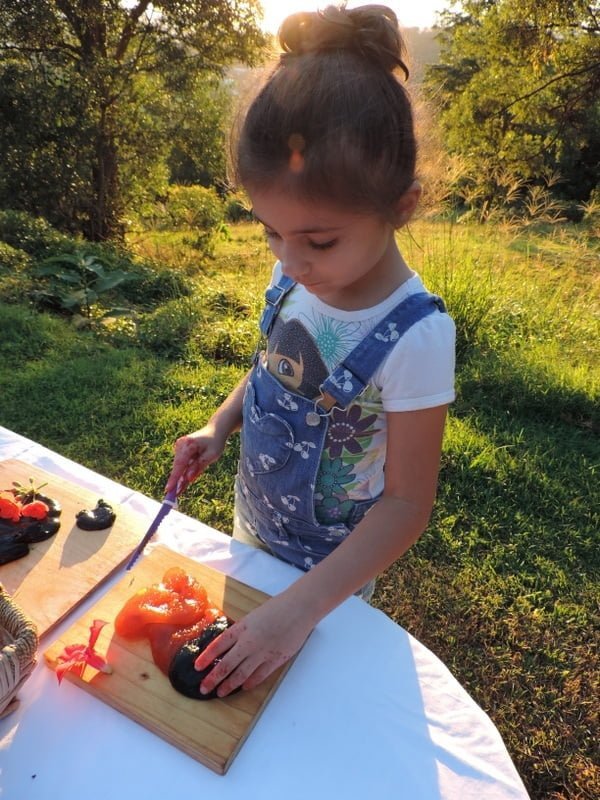
You can also add other materials to add to the experience – I introduced some of our child safe knives so they could experiment with cutting the slime into pieces as well as the items they were collecting from the garden to decorate their creations. Obviously you will want to keep the ages of the children you are working with in mind if using knives. But even small wooden or plastic knives from home corner play would work well.
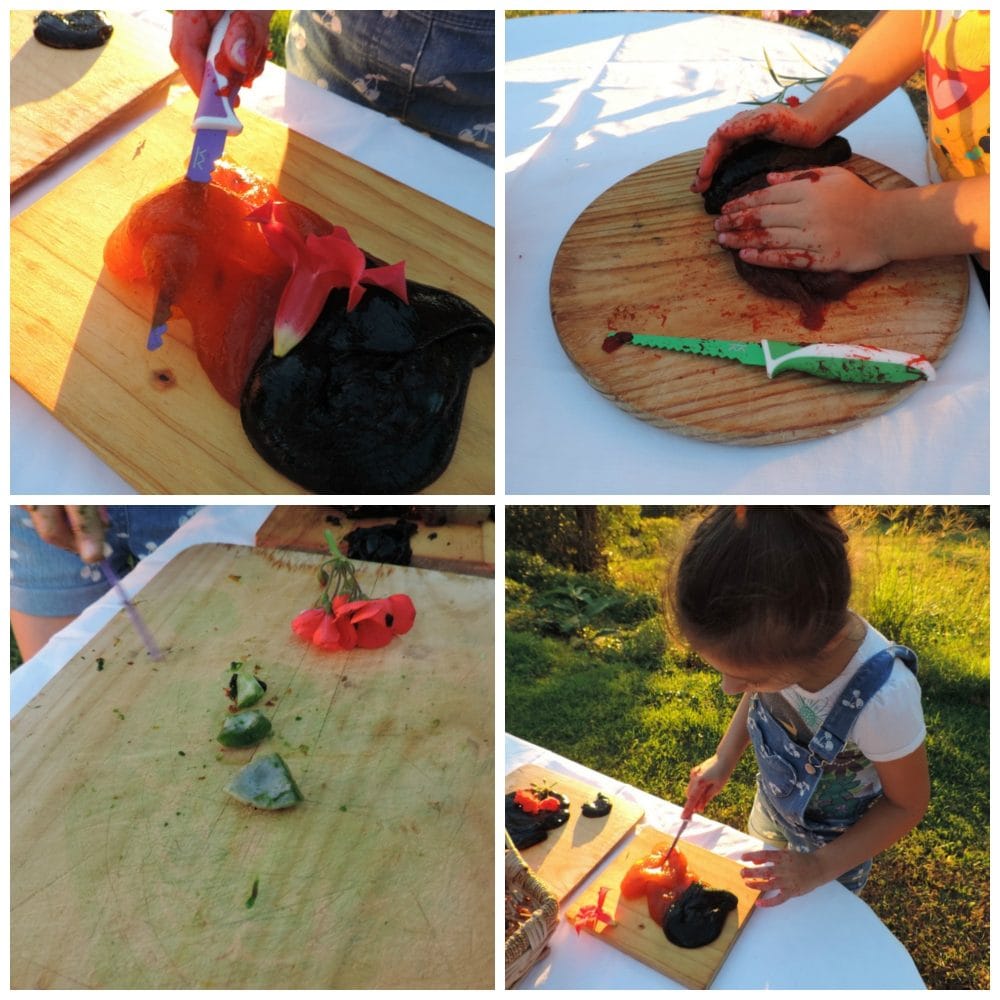
Because we love to play outside, go on nature walks and collect treasures from the garden, it was quickly decided the slime would look better with a little decoration from nature. This addition to the play experience provided even more opportunity to discuss colour, texture, size and smell while they worked with their senses.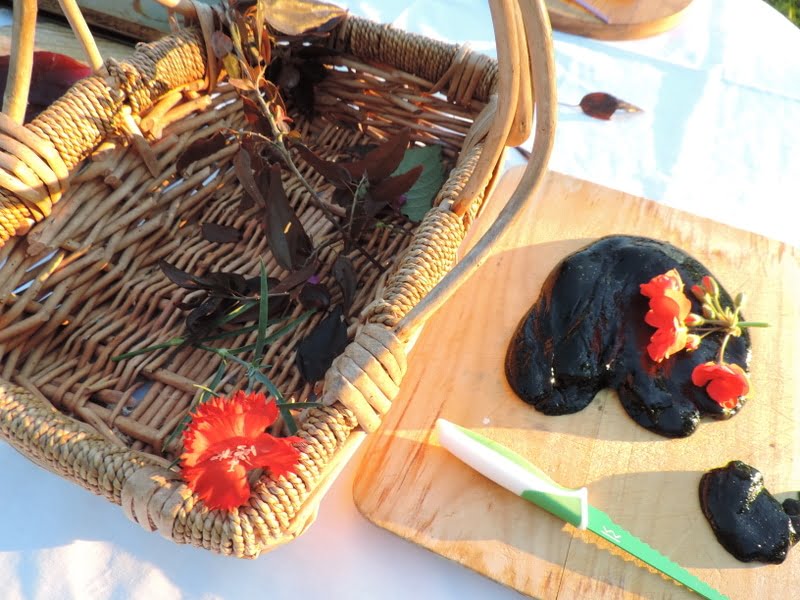
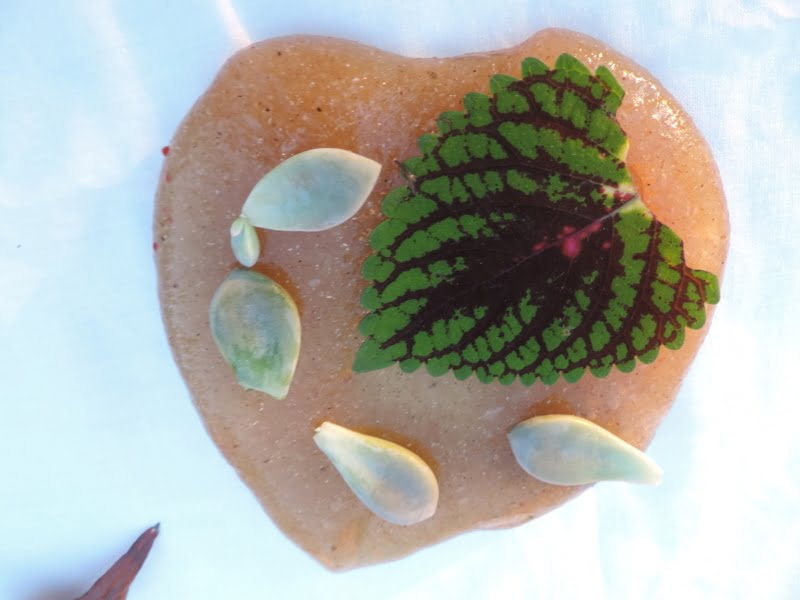
It's always a joy to watch children making their unique creations and being a witness to the interesting thought processes evolving!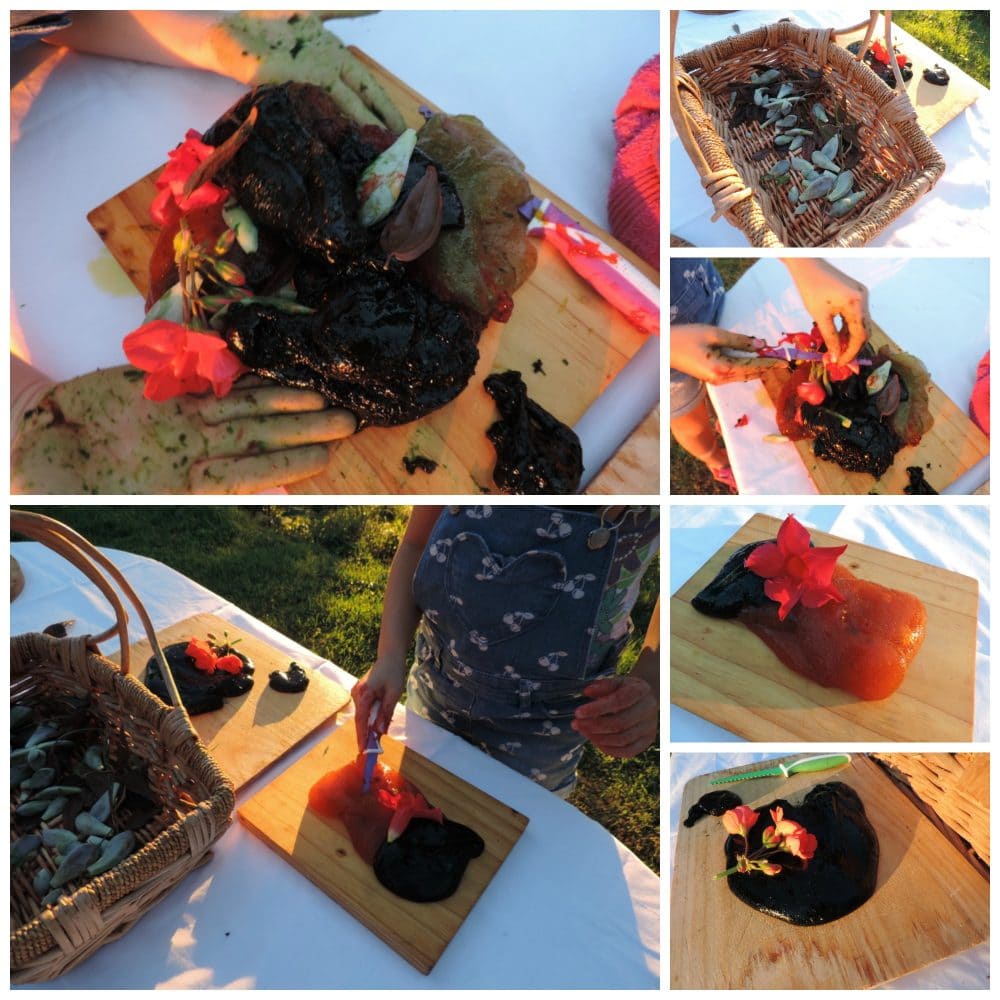
Tara labelled this clever little creation below her ‘slime leaf man' Very apt I thought!
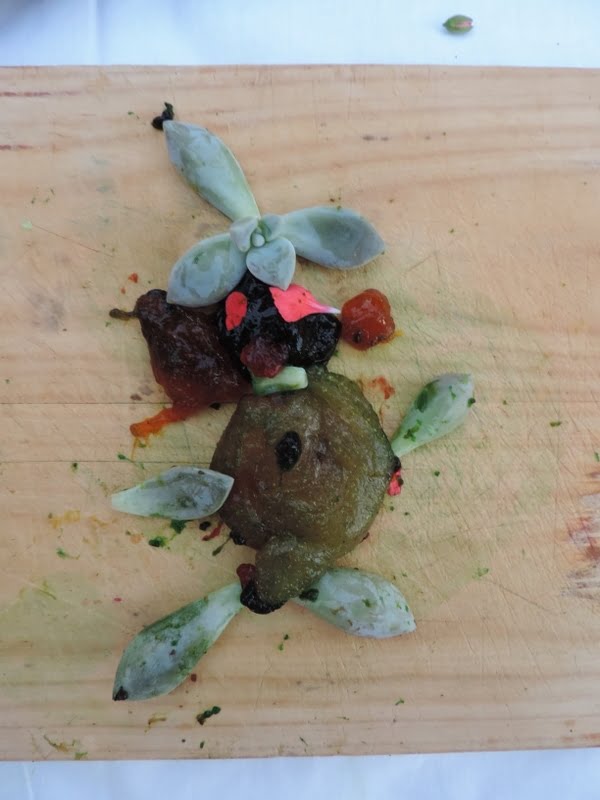
Of course there is no need to add materials like those above – you can simply keep to some basic but wonderful sensory play , the children will love it just the same!
You can roll, form blobs, squish, splat, stretch out and so much more….
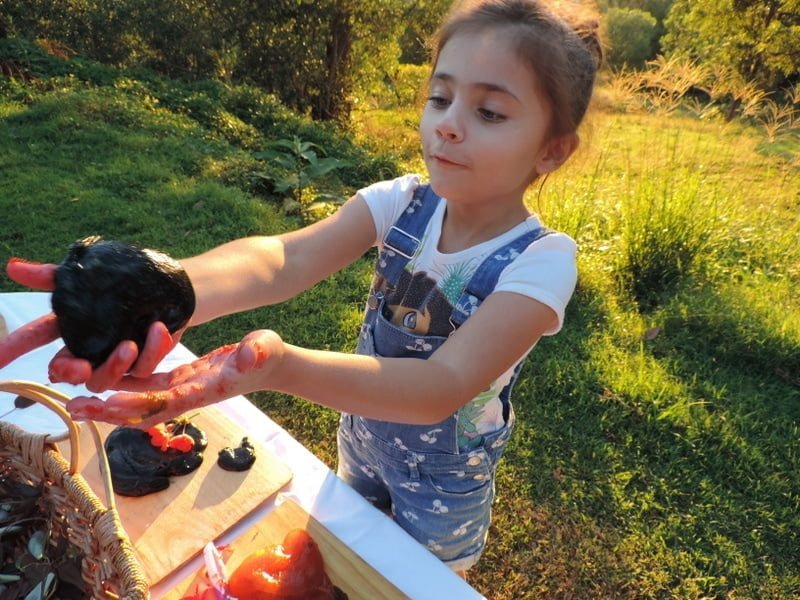
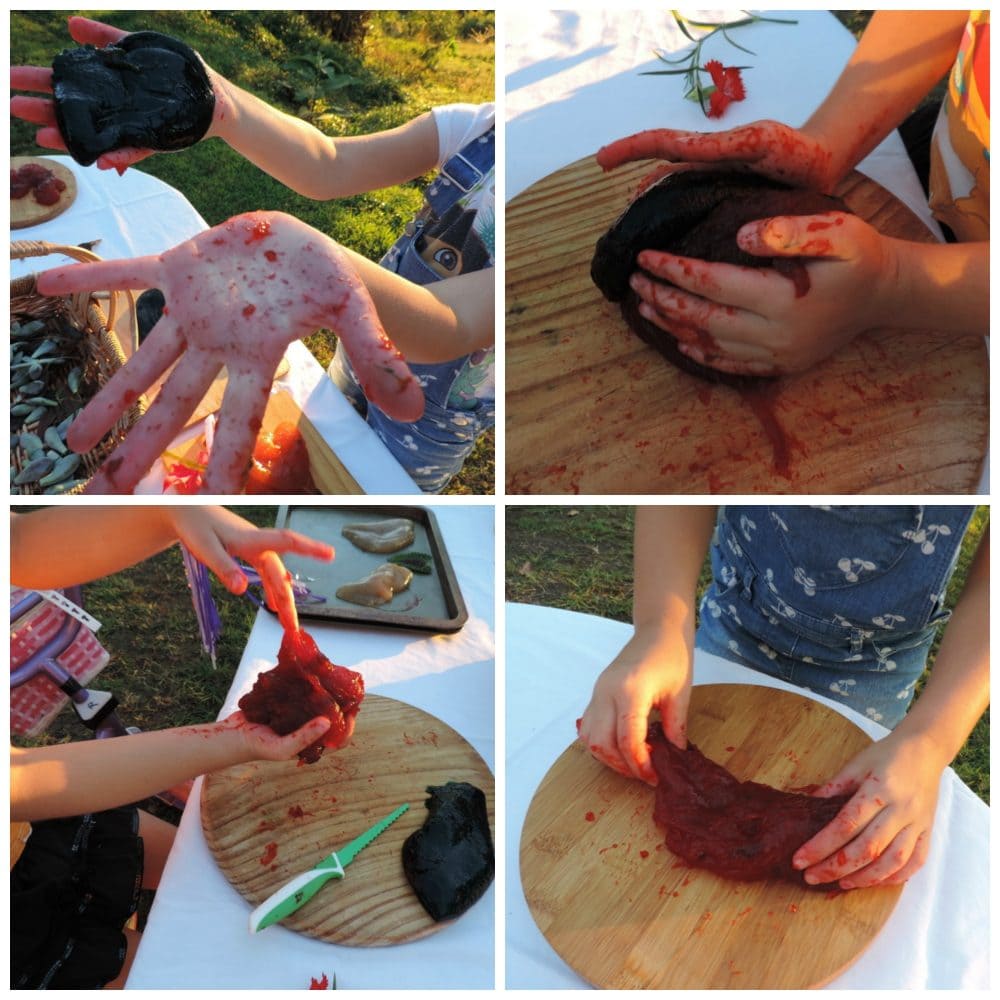

Why not have a try at making your own? It doesn't take long and it's such a fantastic opportunity for sensory play and discovery.
Want more ideas & inspiration and to connect with other passionate professionals who love working with children?
Join my exclusive
Empowered Educators Facebook Community
It’s FREE!
A Little About Me

Jodie Clarke is an early childhood professional supporting educators who want and need to stay passionate about the work they do! She has 30 years hands-on experience in the early childhood and human services sectors across many different roles.
Jodie is mum to 3 in Australia and has already helped thousands of educators with their work through her popular blog posts, activity ideas, online training and e-books.

Jodie,
What a wonderful idea. I have never been willing to use borax and this is an amazing alternative. Can’t wait to try it.
it works so well Bev – we have used it a few times since, so economical too!
Have you ever used the stovetop to make this? We don’t have a microwave.
I haven’t used the stovetop but I’m thinking that you could Jennifer as long as you had the temp on low and were there stirring the whole time – use a big saucepan as it could easily come up and over the sides. Good luck!